Standing vs. Seated Calf Raises: Which Builds More Calf Muscle?
2026-09-14
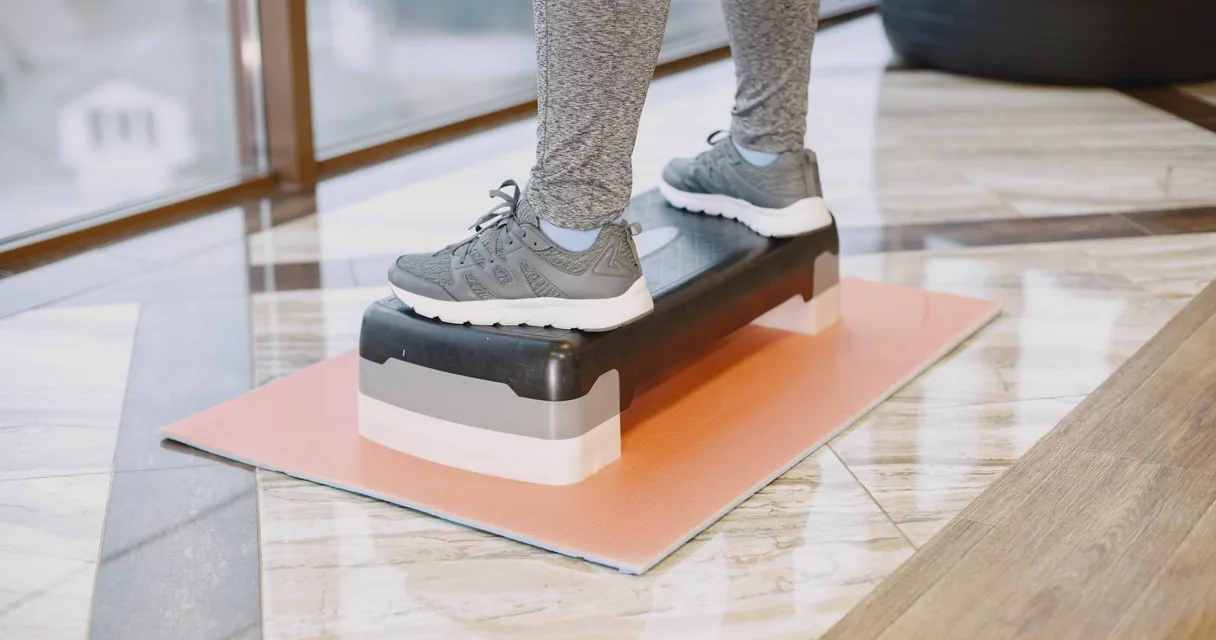
Standing and seated calf raises are often presented as a simple split: standing for the gastrocnemius, seated for the soleus. That shortcut is useful for learning anatomy, but it can lead to an unnecessary rule that every program must include both machines in equal amounts.
The better question is which movement lets you train the calves hard through a repeatable range, recover from the work, and add performance over time. For most lifters, a standing calf raise is the strongest starting point. A seated variation can be a valuable supplement, but it is not automatically required for calf hypertrophy.
This guide compares standing and seated calf raises, explains why knee position changes the movement, and gives a simple plan for growing calves without chasing endless burn sets.
Why knee position changes a calf raise
Your calf complex includes the gastrocnemius and the soleus. Both point the foot down, a movement called plantar flexion. The gastrocnemius crosses the ankle and knee, while the soleus crosses only the ankle.
With a straight or nearly straight knee, the gastrocnemius has a favorable length to contribute to a standing calf raise. When the knee is bent, as in a seated calf raise, the gastrocnemius becomes shorter at the knee. The soleus still works hard, so a seated raise can make it easier to emphasize that part of the calf complex.
Emphasis does not mean isolation. A seated raise does not make the gastrocnemius disappear, and a standing raise does not ignore the soleus. Treat knee position as one programming variable, not as a muscle on and off switch.
What the hypertrophy evidence suggests
The popular claim that standing raises are only for the gastrocnemius and seated raises are only for the soleus is more confident than the evidence supports. In a training study comparing the two positions, standing calf raises produced greater gastrocnemius and overall triceps surae growth than seated raises. This does not prove that every person needs to abandon seated work. It does challenge the idea that a bent knee position is automatically the complete calf solution.
For practical programming, use the finding to set priorities. If time is limited, begin with a well performed standing raise. Add seated work when it helps you accumulate quality volume, when a standing setup bothers you, or when you simply want a second pattern that you can progress consistently.
Why one study should not dictate every program
Training studies answer a narrow question with a particular group, duration, equipment setup, and dose. Your own results also depend on ankle mobility, machine fit, range of motion, effort, recovery, and how many productive sets you already perform.
Do not replace one rigid rule with another. Run a standing raise as your main lift for several weeks, record reps and load, then decide whether an additional seated exercise improves rather than dilutes your training.
Standing calf raise: the main lift for most programs
A standing calf raise can be done on a machine, in a Smith machine, holding dumbbells, or on a step with body weight. The equipment matters less than a stable setup that lets the ankle move through a controlled range.
Standing calf raise setup
- Place the ball of each foot on the platform and keep a secure point of contact.
- Start from a controlled stretch rather than dropping into the bottom.
- Rise by pressing through the forefoot until the ankle is fully plantar flexed.
- Pause briefly at the top without turning the repetition into a knee bend.
- Lower slowly until you reach a tolerable stretch again.
- Keep the knee mostly straight, but do not force it into painful lockout.
A slight natural knee movement is normal. The goal is not to freeze every joint. The goal is to avoid turning the rep into a bouncing squat or using the hips to escape the difficult bottom position.
Common standing raise mistakes
The most common error is using a range that is fast but shallow. If the heel never lowers under control or the top is never reached, the load may look impressive while the calf does little consistent work. Another error is using a long pause at the bottom as a chance to rest on passive tissues rather than controlling the stretched position.
Start with a moderate load. Earn heavier weight by keeping the same depth, top position, and tempo. The same principle appears in our progressive overload guide: a number only represents progress when the movement standard remains comparable.
Seated calf raise: where it fits
A seated calf raise bends the knee and often makes the soleus feel more directly challenged. It is also convenient when a standing machine is unavailable, when you want a low systemic fatigue accessory, or when a second calf movement helps you train more often without making each session too long.
Seated calf raise setup
- Adjust the pad so the thighs are secure but not painfully compressed.
- Use the forefoot on the platform and allow the heel to lower with control.
- Keep the knees stable instead of lifting them away from the pad.
- Rise smoothly to a full top position and pause for one second.
- Lower for two to three seconds before beginning the next rep.
Do not load the machine so heavily that the heel barely moves. A seated raise should still be an ankle movement, not a sequence of knee lifts and short pulses.
When seated work makes sense
Choose seated raises as a supplement when you already progress a standing pattern but want another two to four hard sets per week. They are also a practical primary option if your gym has no stable standing setup or if a standing variation causes discomfort that does not improve after adjusting the range and load.
The exercise is useful because it is usable, not because it guarantees a special soleus result. Keep that distinction in mind when deciding where to spend your training time.
Standing vs. seated calf raises at a glance
| Training question | Standing calf raise | Seated calf raise |
|---|---|---|
| Knee position | Mostly straight | Bent |
| Main practical role | Strong first choice for overall calf work | Useful second pattern or accessible alternative |
| Gastrocnemius contribution | Usually greater | Reduced, not absent |
| Soleus contribution | Meaningful | Meaningful and often easier to emphasize |
| Setup | Machine, Smith machine, dumbbells, or step | Usually a dedicated machine or loaded bench setup |
| Best use | Main progressive calf lift | Added volume, comfort, or variation |
A calf program that you can actually progress
Calves respond to effort and consistency, not to a random collection of foot angles. Pick a rep range, maintain a clear depth standard, and leave enough recovery to repeat productive repetitions in the next session.
Option A: two sessions per week
Session one
- Standing calf raise: 3 sets of 6 to 10 repetitions
- Seated calf raise: 2 sets of 10 to 15 repetitions
Session two
- Standing calf raise: 3 sets of 8 to 12 repetitions
This provides eight weekly hard sets while keeping the standing movement as the main progression target. It fits easily into a lower body schedule such as our four day upper lower split.
Option B: standing only at first
- Standing calf raise: 3 to 4 sets, two or three times per week
- Use 8 to 15 controlled repetitions
- Add load only when every set reaches the top of the range with the same depth and pauses
This option is ideal if calves have previously been an afterthought. A simple plan completed for eight weeks beats a complex routine that disappears whenever the gym is busy.
Rest and effort
Rest long enough to keep the next set honest. One to two minutes may work for lighter calf work, while heavier standing sets often benefit from two minutes or more. Our guide to rest between hypertrophy sets explains why short rests should not be used only to make an exercise feel harder.
Most sets can finish with one to three repetitions in reserve. On a stable machine, an occasional final set close to technical failure is reasonable. Stop when the range becomes shorter, the knee bends to compensate, or the foot loses control on the platform.
Three changes that matter more than foot angle debates
Use your full controllable range
A long range is useful only when it remains controlled. Lower the heel until you feel a tolerable calf stretch, then rise as high as you can without rolling the ankle or bouncing. If ankle mobility limits the position, begin with the range you own and improve it gradually.
Keep the same repetition standard
Changing from quick partials to slow full repetitions can look like a sudden drop in strength. It is actually a better test. Record the machine, foot placement, rep range, and any pause you use so your GymLog history compares like with like.
Give calves a real place in the session
Do not always leave calf work for the last two rushed minutes. Put the exercise earlier at least once per week, or pair it with a noncompeting upper body movement. Consistent exposure makes it much easier to progress the lift and to judge whether your weekly volume is enough.
Final verdict
Standing calf raises are the best default when calf hypertrophy is the goal because they train the gastrocnemius and soleus together and have strong practical support as a main movement. Seated calf raises remain useful for added volume, a second pattern, or a comfortable alternative when the standing option does not fit your equipment or joints.
Start with one standing pattern, make every repetition deep and repeatable, and progress it for several weeks. Then add seated work only if it solves a real training problem. Download GymLog to track your calf raise setup, range standard, reps, and load so you can build calves from evidence in your logbook rather than from machine myths.