RPE Scale in Strength Training: The Ultimate Guide to Intensity
2026-05-28
What Is the RPE Scale?
Have you ever gone to the gym feeling completely exhausted, yet your program forced you to lift 85% of your 1-Rep Max (1RM)? Or perhaps you felt incredibly strong but held yourself back because a rigid spreadsheet said so? Traditional percentage-based training has its place, but it fails to account for one crucial variable: your daily readiness.
This is where autoregulation and the RPE (Rate of Perceived Exertion) scale come in. Originally designed for cardiovascular exercise by researcher Gunnar Borg, RPE was adapted for lifting by powerlifting coach Mike Tuchscherer. Today, it’s one of the most effective tools used by elite athletes and science-based lifters to optimize volume, manage fatigue, and guarantee long-term muscle growth.
At its core, the lifting-focused RPE scale is based on RIR (Reps in Reserve). It answers a simple question: How many more reps could you have done before your form broke down or you failed?
The RPE & RIR Translation Table
To use RPE effectively, you must understand how it translates to the number of reps you have left in the tank. Here is the definitive guide:
| RPE | Description | Reps in Reserve (RIR) |
|---|---|---|
| 10 | Maximal effort. Absolutely no reps or load left in the tank. | 0 RIR |
| 9.5 | No more reps possible, but could have lifted a tiny bit more weight. | ~0 RIR |
| 9 | Could have done exactly 1 more rep. | 1 RIR |
| 8.5 | Could definitely have done 1 more rep, maybe 2. | 1–2 RIR |
| 8 | Could have done exactly 2 more reps. | 2 RIR |
| 7.5 | Could definitely have done 2 more reps, maybe 3. | 2–3 RIR |
| 7 | Could have done exactly 3 more reps. | 3 RIR |
| 6 | Could have done 4 more reps. | 4 RIR |
| 5 | Light effort. Warm-up pace or technique work. | 5+ RIR |
By using this table, you shift from guessing your intensity to measuring it with scientific precision.
Why You Should Use RPE and RIR
If you’re still relying solely on static percentages or training to absolute failure on every single set, you’re leaving gains on the table. Here is why switching to an RPE-based system is a game-changer.
1. Daily Autoregulation
Your strength isn’t static. It fluctuates daily based on sleep quality, nutrition, stress levels, and cumulative fatigue. On a perfect day, your 100 kg squat might feel like a breeze (RPE 7). On a day when you’re stressed and slept poorly, that same 100 kg could feel like a near-maximal effort (RPE 9.5).
RPE automatically adjusts the load to match your current performance capacity. It ensures you train at the intended stimulus, regardless of external life stressors.
2. Injury Prevention and Fatigue Management
Consistently training to failure (RPE 10) on compound movements like squats and deadlifts is a recipe for central nervous system burnout and joint injury. By programming sets at RPE 7 to 9, you accumulate high-quality training volume while keeping your joints safe and ensuring rapid recovery.
3. Maximum Hypertrophy
Research shows that the last 3 to 5 reps before failure are the most effective for stimulating muscle growth. These are the "effective reps" where motor unit recruitment is maximized. RPE and RIR allow you to consistently target this sweet spot (usually between RPE 7 and RPE 9) without overtaxing your body.
How to Accurately Estimate Your RPE
The most common criticism of RPE is that it’s subjective. And it’s true: estimating your proximity to failure is a skill that requires practice. Beginners often underestimate their strength, rating a set as RPE 9 when they actually had 4 or 5 reps left in reserve.
Here is how you can master the learning curve:
Record Your Sets
Set up your phone and record your working sets. Pay close attention to bar speed. When you hit RPE 8 or 9, the speed of the bar will naturally and noticeably slow down. If your last rep looked just as fast as your first, you weren’t at RPE 9, no matter how much it burned.
Test True Failure Occasionally
To know how many reps you have left in the tank, you must occasionally find out what zero looks like. On safe isolation exercises (like bicep curls or leg extensions) or compound lifts with safety pins in place, push a set to absolute concentric failure. This establishes an honest baseline of what RPE 10 feels like.
Track Your Progress Consistently
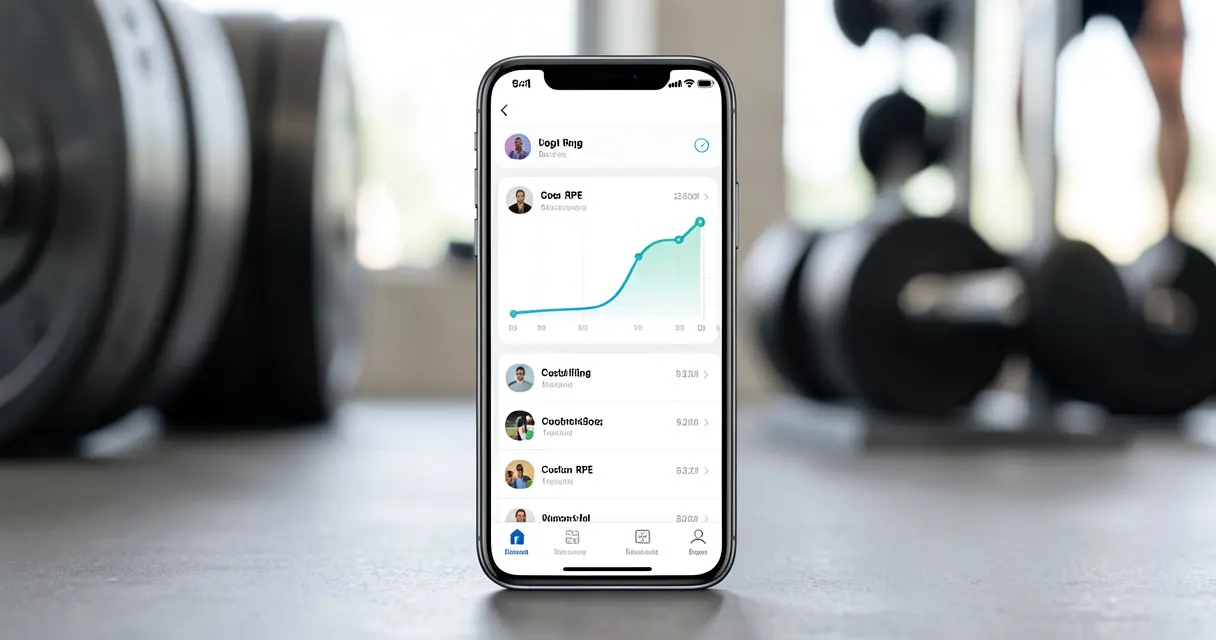
The more you track, the more accurate your RPE ratings become. Using an app like GymLog allows you to input your RPE and RIR for every single set, helping you spot trends and build an intuitive connection with your body’s true capabilities.
Programming with RPE: Practical Examples
How does an RPE-based workout actually look on paper? Let’s compare traditional programming with RPE programming.
- Traditional: Bench Press — 3 sets of 8 reps @ 100 kg.
- RPE-Based: Bench Press — 3 sets of 8 reps @ RPE 8.
In the RPE version, your goal is to choose a weight that allows you to complete 8 reps with exactly 2 reps left in reserve. If you load 100 kg and it feels like an RPE 9 on set 1, you lower the weight to 95 kg for set 2 to maintain the proper RPE 8 stimulus.
Sample Push Day with RPE Prescriptions
Here is how you can structure a highly effective hypertrophy session using RPE:
- Barbell Bench Press — 3 sets × 6 reps @ RPE 8 (heavy strength base, 2 RIR)
- Incline Dumbbell Press — 3 sets × 10 reps @ RPE 8 (moderate load, excellent hypertrophy stimulus)
- Cable Flyes — 3 sets × 12 reps @ RPE 9 (high metabolic stress, push close to failure)
- Dumbbell Lateral Raises — 4 sets × 15 reps @ RPE 9 (finish the final set with a classic triple drop set for extreme metabolic burn)
By leaving a couple of reps in reserve on your heavy compound lifts, you preserve energy to attack your isolation movements with high intensity.
RPE vs. Percentage-Based Training
Both systems have unique advantages. The ideal approach often depends on your experience level and goals.
| Metric | Percentage-Based (% of 1RM) | RPE & RIR-Based |
|---|---|---|
| Flexibility | Low (Rigid prescriptions) | High (Adapts to daily fatigue) |
| Injury Risk | Moderate to High (if overreached) | Low (Self-correcting system) |
| Mastery Required | Low (Easy for beginners to calculate) | High (Requires honest self-assessment) |
| Best For | Beginners, Powerlifting peaking | Intermediates, Bodybuilding, Busy lifters |
To build a solid foundation, check out our complete guide to progressive overload. Understanding how to gradually increase tension is crucial before applying advanced RPE principles. Additionally, never forget that your progress is only as good as your recovery. Read more on why muscle recovery is the ultimate key to progress.
Conclusion: Take Control of Your Intensity
The RPE scale is one of the most liberating tools you can introduce to your training. It frees you from the tyranny of rigid percentages and the danger of constant failure. It teaches you to listen to your body, train smarter, and make consistent progress week after week.
Remember: muscle growth is about stimulating, not annihilating. Pushing your working sets to RPE 7–9 gives your body the precise signal it needs to grow without overloading your recovery systems.
Ready to start tracking your RPE?
Download the GymLog app today. GymLog makes it incredibly easy to log your RPE and RIR for every set, track your estimated 1-Rep Max in real-time, and monitor your fatigue levels. Take the guesswork out of your workouts and start training with scientific precision.