Hanging Leg Raise Progression: Build Stronger Abs Without Swinging
2026-09-07
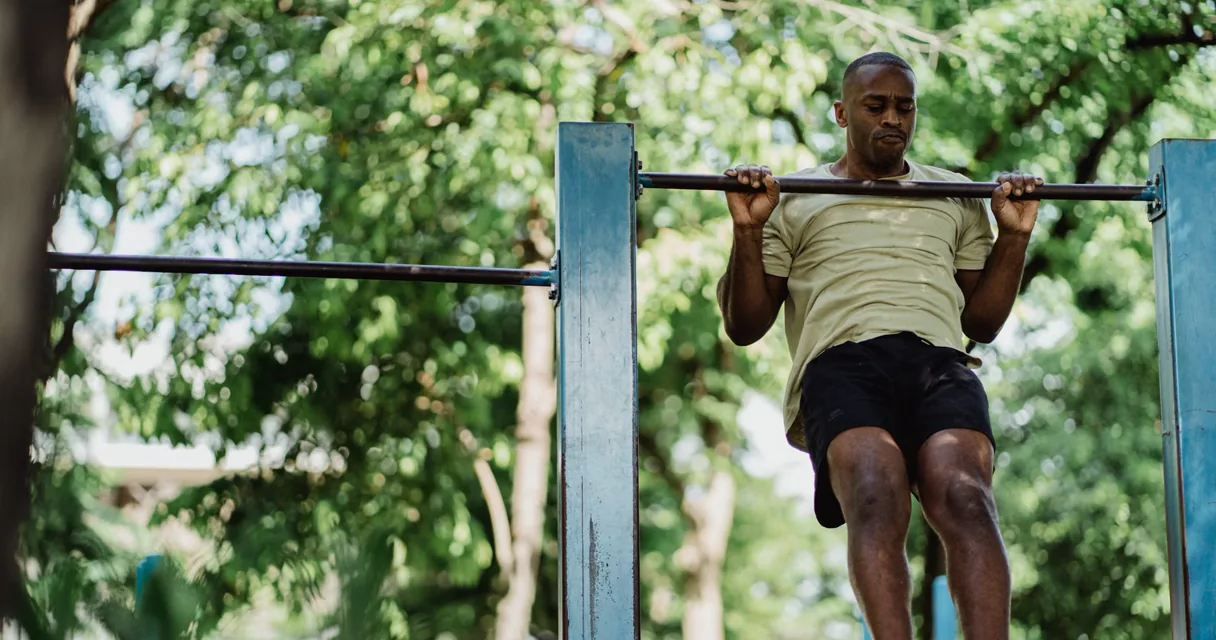
Hanging leg raises look simple: hold a bar and lift the legs. In practice, they ask for grip, shoulder control, hip flexor strength, and a core that can resist a swing. That combination makes them productive, but it also makes them easy to turn into a fast pendulum with very little useful abdominal work.
The goal is not to reach your toes to the bar as quickly as possible. The goal is to keep the ribcage and pelvis under control, then make the lever longer only when the current version is clean. This hanging leg raise progression gives you a measurable path from an active hang to straight leg repetitions.
What a hanging leg raise actually trains
A hanging leg raise involves the rectus abdominis, obliques, hip flexors, forearms, lats, and shoulder stabilizers. It does not isolate a separate lower ab muscle. The rectus abdominis is one muscle, but posteriorly tilting the pelvis near the top of a repetition can make the movement feel more like a trunk curl rather than only a hip lift.
That distinction is useful. If the thighs rise but the pelvis stays tipped forward and the body keeps swinging, the hip flexors are doing most of the visible work. When you finish by gently curling the tailbone toward the ribs, your abs have a clearer job.
| Goal | Best version to start with | Main standard |
|---|---|---|
| Learn the hang | Active hang | Shoulders stay controlled for 20 to 30 seconds |
| Build abdominal control | Hanging knee tuck | No leg kick or large swing |
| Build a longer lever | Bent knee to straight leg raise | Pelvis still tucks at the top |
| Advanced core skill | Toes to bar or slow eccentric | Every repetition begins from a quiet hang |
Set up the active hang first
Use a bar height that lets you hang freely
Choose a pull up bar that leaves the feet clear of the floor. A captain’s chair or ab straps can be useful if grip is the limiting factor, but do not use them to skip shoulder control. Start with both hands on the bar, thumbs wrapped, and a grip that feels secure rather than painfully wide.
Before you raise the knees, move from a passive hang into a light active hang. Keep the ribs from flaring excessively, create gentle tension through the upper back, and let the shoulders stay away from the ears without forcing a hard shrug. This is not a pull up. It is a stable starting position.
Remove momentum before every repetition
Begin each set from stillness. If a swing starts, pause for a moment instead of using it to launch the next rep. A quiet reset makes the exercise harder in the right way and gives you an honest benchmark for progression.
If holding the bar is currently the weak link, build the active hang for two or three sets of 15 to 30 seconds. Pair it with the pulling strength work in the lat pulldown versus pull ups guide, then return to knee raises once the hang feels stable.
The hanging leg raise progression ladder
Level 1: hanging knee tuck
From the active hang, exhale gently and bring the knees toward the chest. Think about closing the distance between the pelvis and lower ribs, not kicking the thighs upward. Hold the top for a brief moment, lower under control, and wait until the body is quiet before the next rep.
Use a range that does not force a swing. Three sets of 6 to 10 controlled repetitions are a better starting point than one set of rushed repetitions to failure.
Level 2: knee tuck with a pelvic curl
Once the knee tuck is steady, add a small posterior pelvic tilt at the top. The knees do not need to travel dramatically higher. The visible cue is a gentle curl of the tailbone toward the ribs while the torso stays controlled.
This is the progression that often changes the sensation from hip flexors only to a more complete abdominal contraction. Keep the range small enough to avoid rocking backward and forward.
Level 3: bent knee raise with slower lowering
Keep the knees bent, but lower for three seconds. The slow eccentric gives you more time to control the pelvis and exposes any momentum that was hiding in the regular version. Stop the descent before the shoulders lose position.
A useful target is 3 sets of 8 to 12 repetitions with the same tempo and no swing. Record the tempo in GymLog so you do not mistake faster repetitions for real progression.
Level 4: alternating straight leg raise
Extend one leg while keeping the other knee bent, then switch sides on the next repetition. This lengthens the lever without demanding a full straight leg raise immediately. Keep the pelvis square and avoid rotating toward the extended leg.
Level 5: straight leg raise
Start from a quiet active hang with both knees straight. Raise the legs only as high as you can without swinging or losing the rib and pelvis position. A clean raise to about parallel is more useful than a high, momentum driven repetition.
As strength improves, add height, a short pause, or a slower lowering before adding load. Toes to bar is an optional skill, not a requirement for strong abs.
Program the exercise without exhausting your grip
Treat hanging leg raises as a demanding core movement, not as a warm up finisher that can be rushed. Two sessions per week work well for many lifters. Add a third lighter exposure only if your elbows, shoulders, grip, and recovery remain comfortable.
| Training level | Sets × reps | Rest | Progression rule |
|---|---|---|---|
| New to hanging work | 2 to 3 × 6 to 8 knee tucks | 60 to 90 seconds | Add reps with no swing |
| Building control | 3 × 8 to 12 knee tucks with curl | 90 seconds | Add a slower eccentric |
| Straight leg stage | 3 to 4 × 5 to 10 | 90 to 120 seconds | Add range, then reps |
| Advanced skill work | 3 × 4 to 8 | 120 seconds | Keep every rep identical |
Place the movement after your main pulling or pressing work if grip is fresh enough to hang safely. If it makes your hands fail before your back training, use it later in the session or on a separate day. Use the effort language in the RPE scale guide and leave one or two clean repetitions in reserve rather than chasing a messy final rep.
Common problems and practical fixes
Every rep turns into a swing
Shorten the range and begin from a full stop. Bend the knees, slow the lowering, and use fewer repetitions. Swinging is not proof that you need more intensity; it is feedback that the current lever or fatigue level is beyond your control.
Only the front of the hips works
Hip flexors will contribute, especially with straight legs. First, make the knee tuck easier and add the small pelvic curl at the top. Second, avoid a huge arch in the lower back at the bottom. If hip discomfort is sharp, persistent, or worsening, stop and seek qualified advice rather than forcing more repetitions.
Grip fails before the abs
Use straps only if they serve a clear purpose, such as practicing the trunk portion after grip work. Otherwise, train active hangs, rows, and pull downs progressively. The chest supported row versus barbell row guide can help you choose pulling work that challenges the back without always making grip the bottleneck.
Straight legs arrived too soon
A straight leg version is not automatically better. It is simply a longer lever. Return to bent knees if the pelvis cannot stay controlled, then use double progression: add repetitions inside a range, and advance the variation only after all sets look alike. The progressive overload guide explains how this standard keeps training measurable.
Build abs you can control
The best hanging leg raise is the hardest version you can start from stillness, lift without a kick, and lower with the same control. Build the active hang, master the knee tuck and pelvic curl, then earn the straight leg progression over time.
Track the variation, repetitions, tempo, and any grip or hip feedback in GymLog. A clear log turns an impressive looking exercise into a reliable core progression.